Player Movement
Player Movement Devlog
For this first step in developing Colour Party, I wanted to implement player movement enough so there is a general feel of how movement will be in the final game.
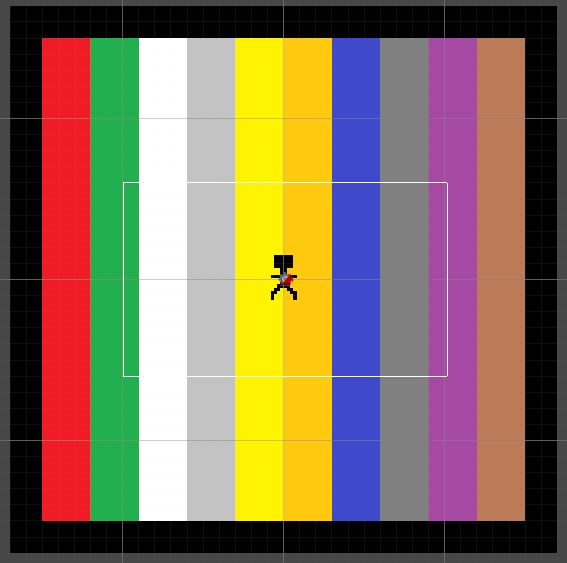
For the player sprite, I simply made a placeholder stick figure (yet to be determined whether this will be improved but I would say yes). For the background / map I made a simple level with 10 stripes of colours. The final game will have several different levels, but this is just an example. I decided to not use a tile map for the level and instead will create the levels just in an image editor - I thought it would be easier to do it this way, even though tilemap could have worked well for this style of game.
The first step was to get simple WASD movement working, for this I made a 8 direction movement script that sets the direction of the rigidbody vector of the player depending on what keys are pressed. If no keys are pressed then the player will not move. The script has an option for the speed of the player, I tried a few values before deciding on 10.
I also added some walls around the level so the player is restricted to the playing area, this was done with box colliders and a polygon collider for the player.
After this was working, I added a Cinemachine Virtual Camera to simply follow the player with some damping - I decided to use Cinemachine as it is easier to expand and add more features to, once the game progresses. The camera does not show the full map and is instead a smaller area centered on the player.

The Unity scene for the game showing the entire map and the area shown through the camera
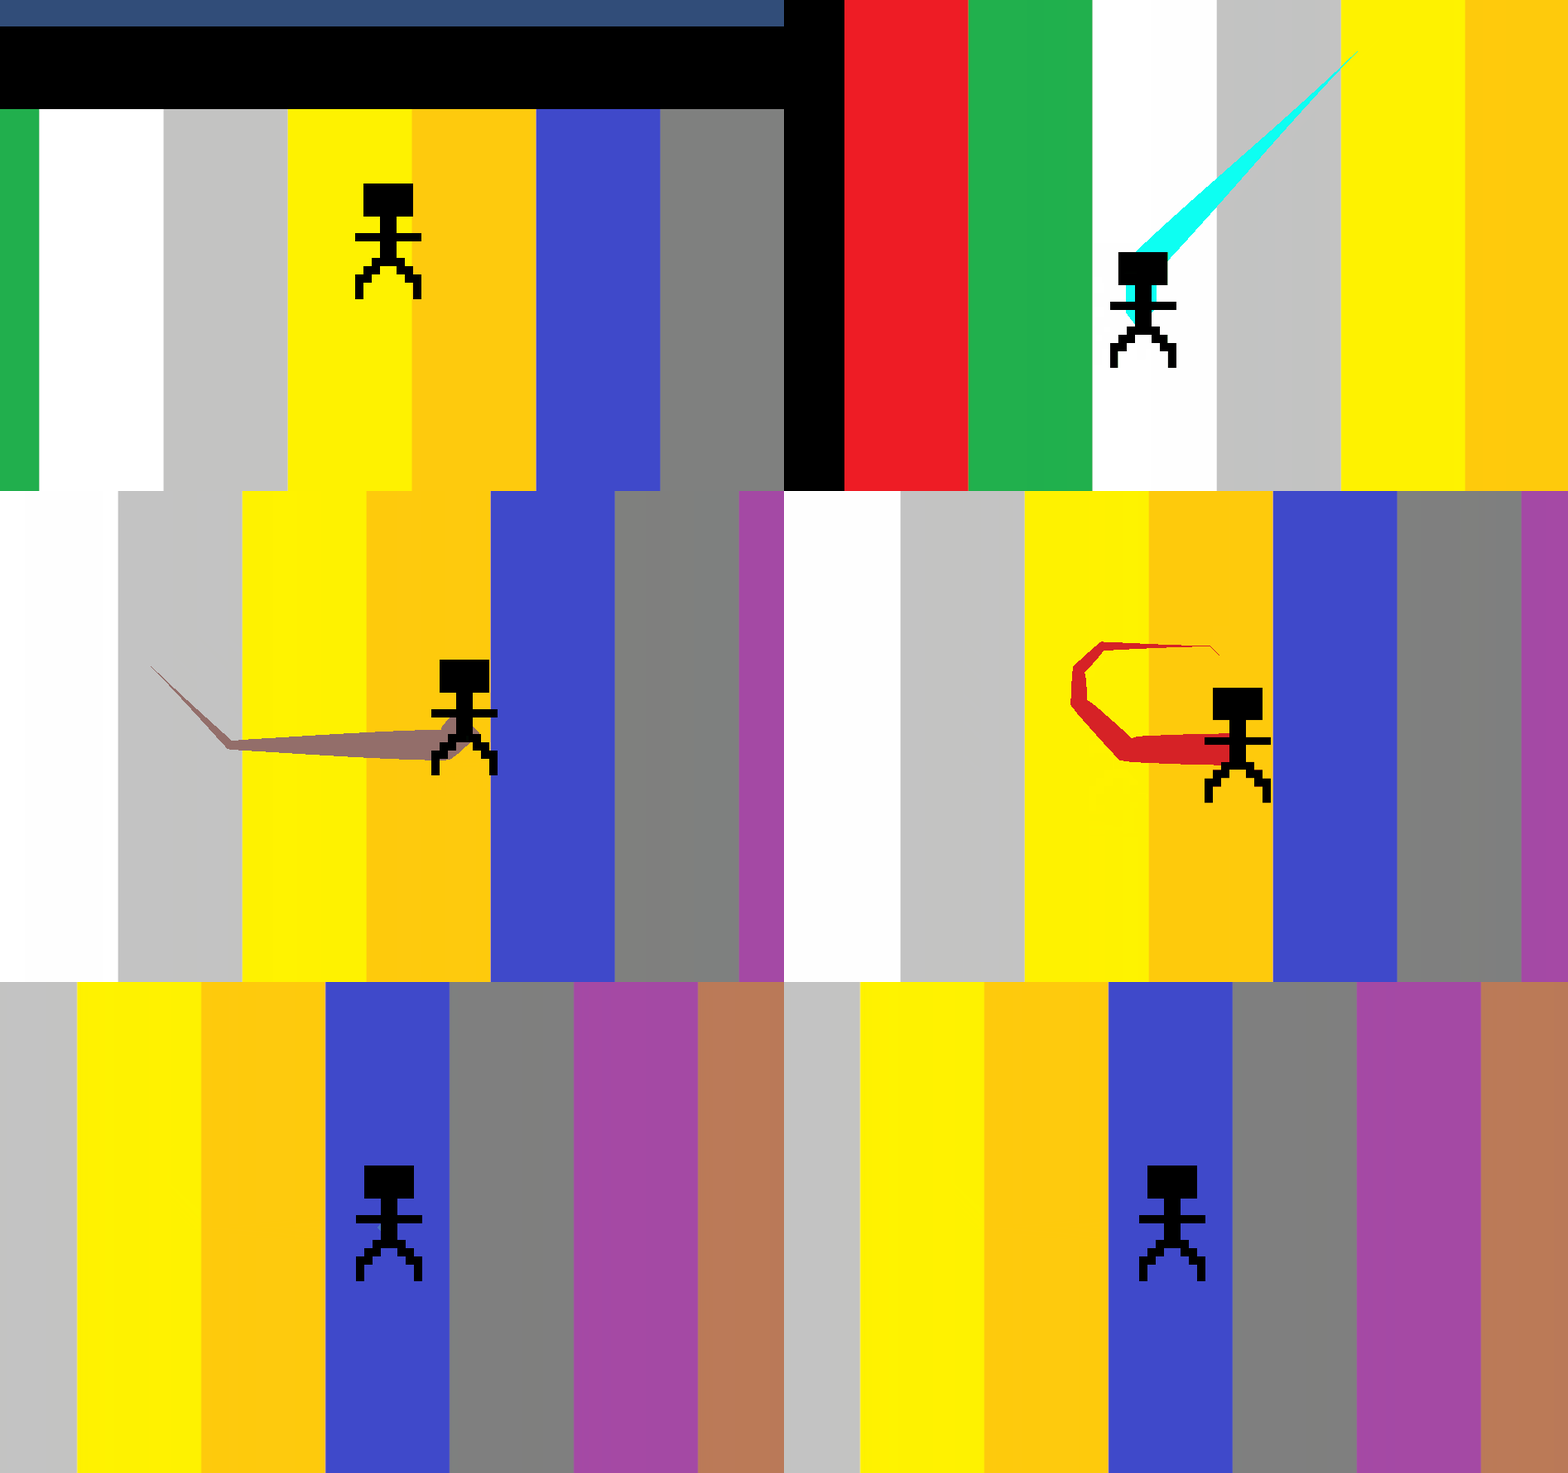
Although player movement was working, there was one problem - when traveling vertically, it was not obvious that you were traveling as the map looks the same. I decided to add a Trail to the player to make it more obvious how you are moving.
The trail was simple enough to add, however I thought that considering the theme of the game and the fact that the player may be surrounded by any colour, it would be better if the trail changed colour.
I implemented this by creating a new script, "Rainbowify", that is added to the trail renderer, which slowly randomly changes the colour of the trail. It does this by changing the RGB colour values by a small random amount every frame. It took a bit of experimenting to get something that worked somewhat nicely but in the end it worked.
The alternative to making a script to have a rainbow trail could have been to modify the trail renderer to have a gradient and potentially animate it but I felt like a script would be easy to make.
This is what the player movement now looks like. It seems to work well but could still potentially be improved by changing how the camera or trail works:

Some feedback that I received for this initial build is summarised here:
- Someone mentioned that the zoomed in camera "might make it hard to know where the colours are". I think this will likely be intended and part of the challenge in the game.
- People also commented on movement feedback and that it is hard to know when you are moving if you are moving vertically. I thought that the trail would solve this problem, however a suggestion was to increase the camera damping.
- There was a suggestion that the goal of the game (to reach a certain colour) could be done by having the colour of the character randomly selected and the objective is to make yourself disappear. I think this is a good suggestion and it would be the easiest way of telling the player what colour they need to reach!
Files
Colour Party
More posts
- Game Testing part 2? Final DevlogMay 28, 2023
- Documentation + User GuideMay 26, 2023
- Game TestingMay 21, 2023
- Presentation and GraphicsMay 14, 2023
- Puzzle ImplementationMay 07, 2023
- Level DesignApr 27, 2023
- Game ConceptApr 14, 2023
Leave a comment
Log in with itch.io to leave a comment.